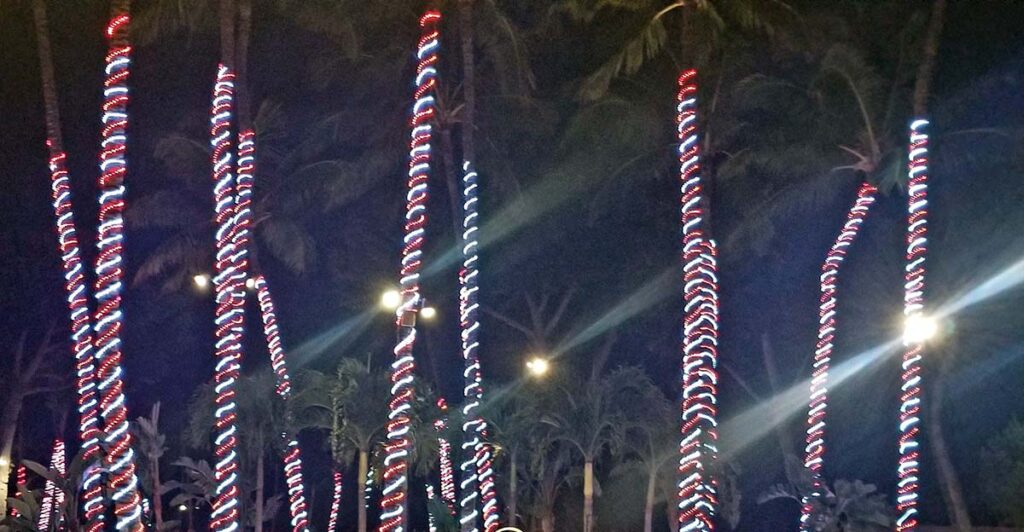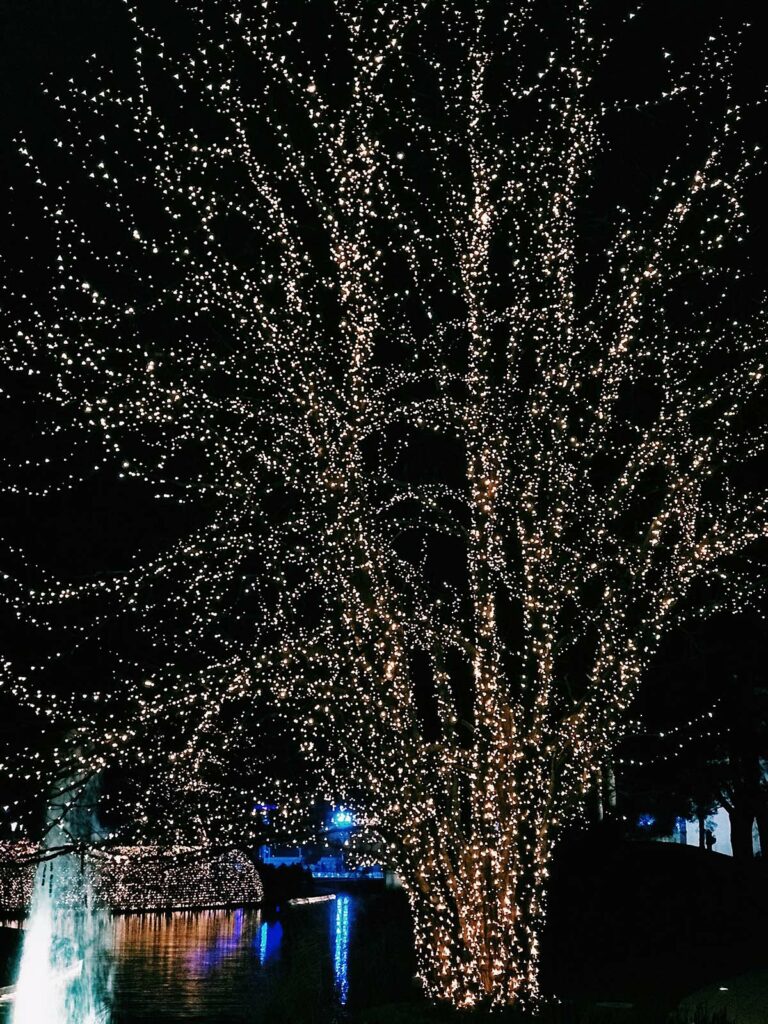
With the Christmas season on the horizon, many homeowners are inspired to drape their trees in festive lights. At Burbank Tree Pros, we’ve seen it all when it comes to holiday light installations – the good, the bad, and the tangled! Drawing from our years of experience and countless interactions with homeowners in Burbank and LA who’ve faced various challenges, we’ve crafted a comprehensive guide just for you.
This guide covers everything from choosing the right tree that will not only look beautiful but also handle decorations safely, to correctly and securely hanging your Christmas lights. Let’s avoid common pitfalls and make your holiday lighting both stunning and safe.
Preparing for Installation
Gather your essentials: string lights, extension cords, a sturdy ladder, measuring tape, and a Sharpie-type pen. It’s important to choose lights and cords that are suitable for outdoor use.
Choosing the Right Tree
Select a tree with textured bark for better grip. Consider its location relative to power sources and visibility to passersby. Note the side of the tree facing the road to arrange less sightly cords at the back.
Types of Trees and Light Selection
Trees with Exposed Trunks
- Oaks, maples, and beeches are great choices as they lack leaves in winter, making lights more visible.
- Determine the bulb size (mini, C7, or C8) and test your lights before installation.
- Measure both the height and circumference of the trunk and branches.
- Use the formula: (height / separation) x circumference to calculate the required length of lights.
Evergreen Trees
- These trees retain greenery and require longer strings with bigger bulbs. Recommended bulb spacing is about 6 inches.
- Larger bulbs like C7s or C8s are suitable for evergreen trees.
Large Outdoor Trees
- Focus on decorating the outer branches for better visibility.
- Have multiple ladders and assistance for safety.
Hanging Lights on Your Tree
Here is a simple step-by-step guide on how to hang the lights on your tree
- Setting Up Your Ladder
Ensure stability and ease of climbing down.
- Marking the Tree
Use your measuring tape and marker to create evenly spaced guides along the trunk.
- Attaching Your Power Source
Run the extension cord from your house to the tree, securing it around the base to avoid unplugging.
- Wrapping the Lights
Wrap firmly but not too tight to allow for tree expansion. Plan your spacing if wrapping branches with the same string of lights.
- Securing the Lights
Use zip ties for extra security in areas where the bark won’t hold the strands.
Creative Tips

Don’t hesitate to get creative with multicolored lights. Use different color strands or color-code them with colored tape for an organized and vibrant display.
Conclusion
Whether you choose an oak, an evergreen, or a large outdoor tree, following these steps will help you create a mesmerizing holiday display. Remember, safety and creativity go hand in hand in this festive endeavor.
Frequently Asked Questions (FAQs)
To locate cost-effective Christmas light installation services, it’s recommended to gather quotes from various companies. This will give you an idea of the price range in your area. However, cost shouldn’t be your only consideration. It’s crucial to also check customer reviews to ensure the quality of service. Lower prices may sometimes lead to subpar work, necessitating additional effort or redoing the installation.
Yes, you can certainly hire professional holiday light installers at any time of the year. While these services are in higher demand starting from October, hiring them during the off-peak season might actually offer you the benefit of potentially lower rates and more flexible scheduling.
A good starting point for lighting your home is about 60 feet of lights. If your house features awnings or similar architectural elements, consider adding an additional 10 to 15 feet of lights per awning. This is a general guideline and the actual amount may vary based on the size and style of your home, as well as personal preferences.
Tipping for any service industry work, including Christmas light installation, is a gesture of appreciation but not a requirement. If you choose to tip, a common range is between 10% and 20% of the total service cost. Ultimately, the tip amount should reflect your satisfaction with the service and can vary based on the quality of work and your personal budget.

